TL;DR: Desktop injection molding lets you produce strong, repeatable plastic parts in-house, faster than 3D printing for batches and far cheaper than outsourcing. INJEKTO 3 is a bench-friendly, maker-ready machine from Action BOX that brings real injection molding to workshops, schools, and startups. Add-ons like mold lifters (for undercuts) and mold backers (for stability) plug right in when you need them.
What is desktop injection molding and why does it matter?
Desktop injection molding is a compact version of industrial injection molding. You heat thermoplastic pellets, inject the melt into a mold, cool, and eject the part. The big wins for makers and small businesses:
- Speed for batches: Once the mold is dialed in, parts can be produced in minutes, not hours.
- Part strength & finish: Molded parts are typically stronger and more consistent than many printed parts.
- Unit cost: After a modest mold investment, each part is inexpensive, ideal for short-run production.
- Design freedom (with the right mold features): You can incorporate snaps, bosses, living hinges, textures, and more.
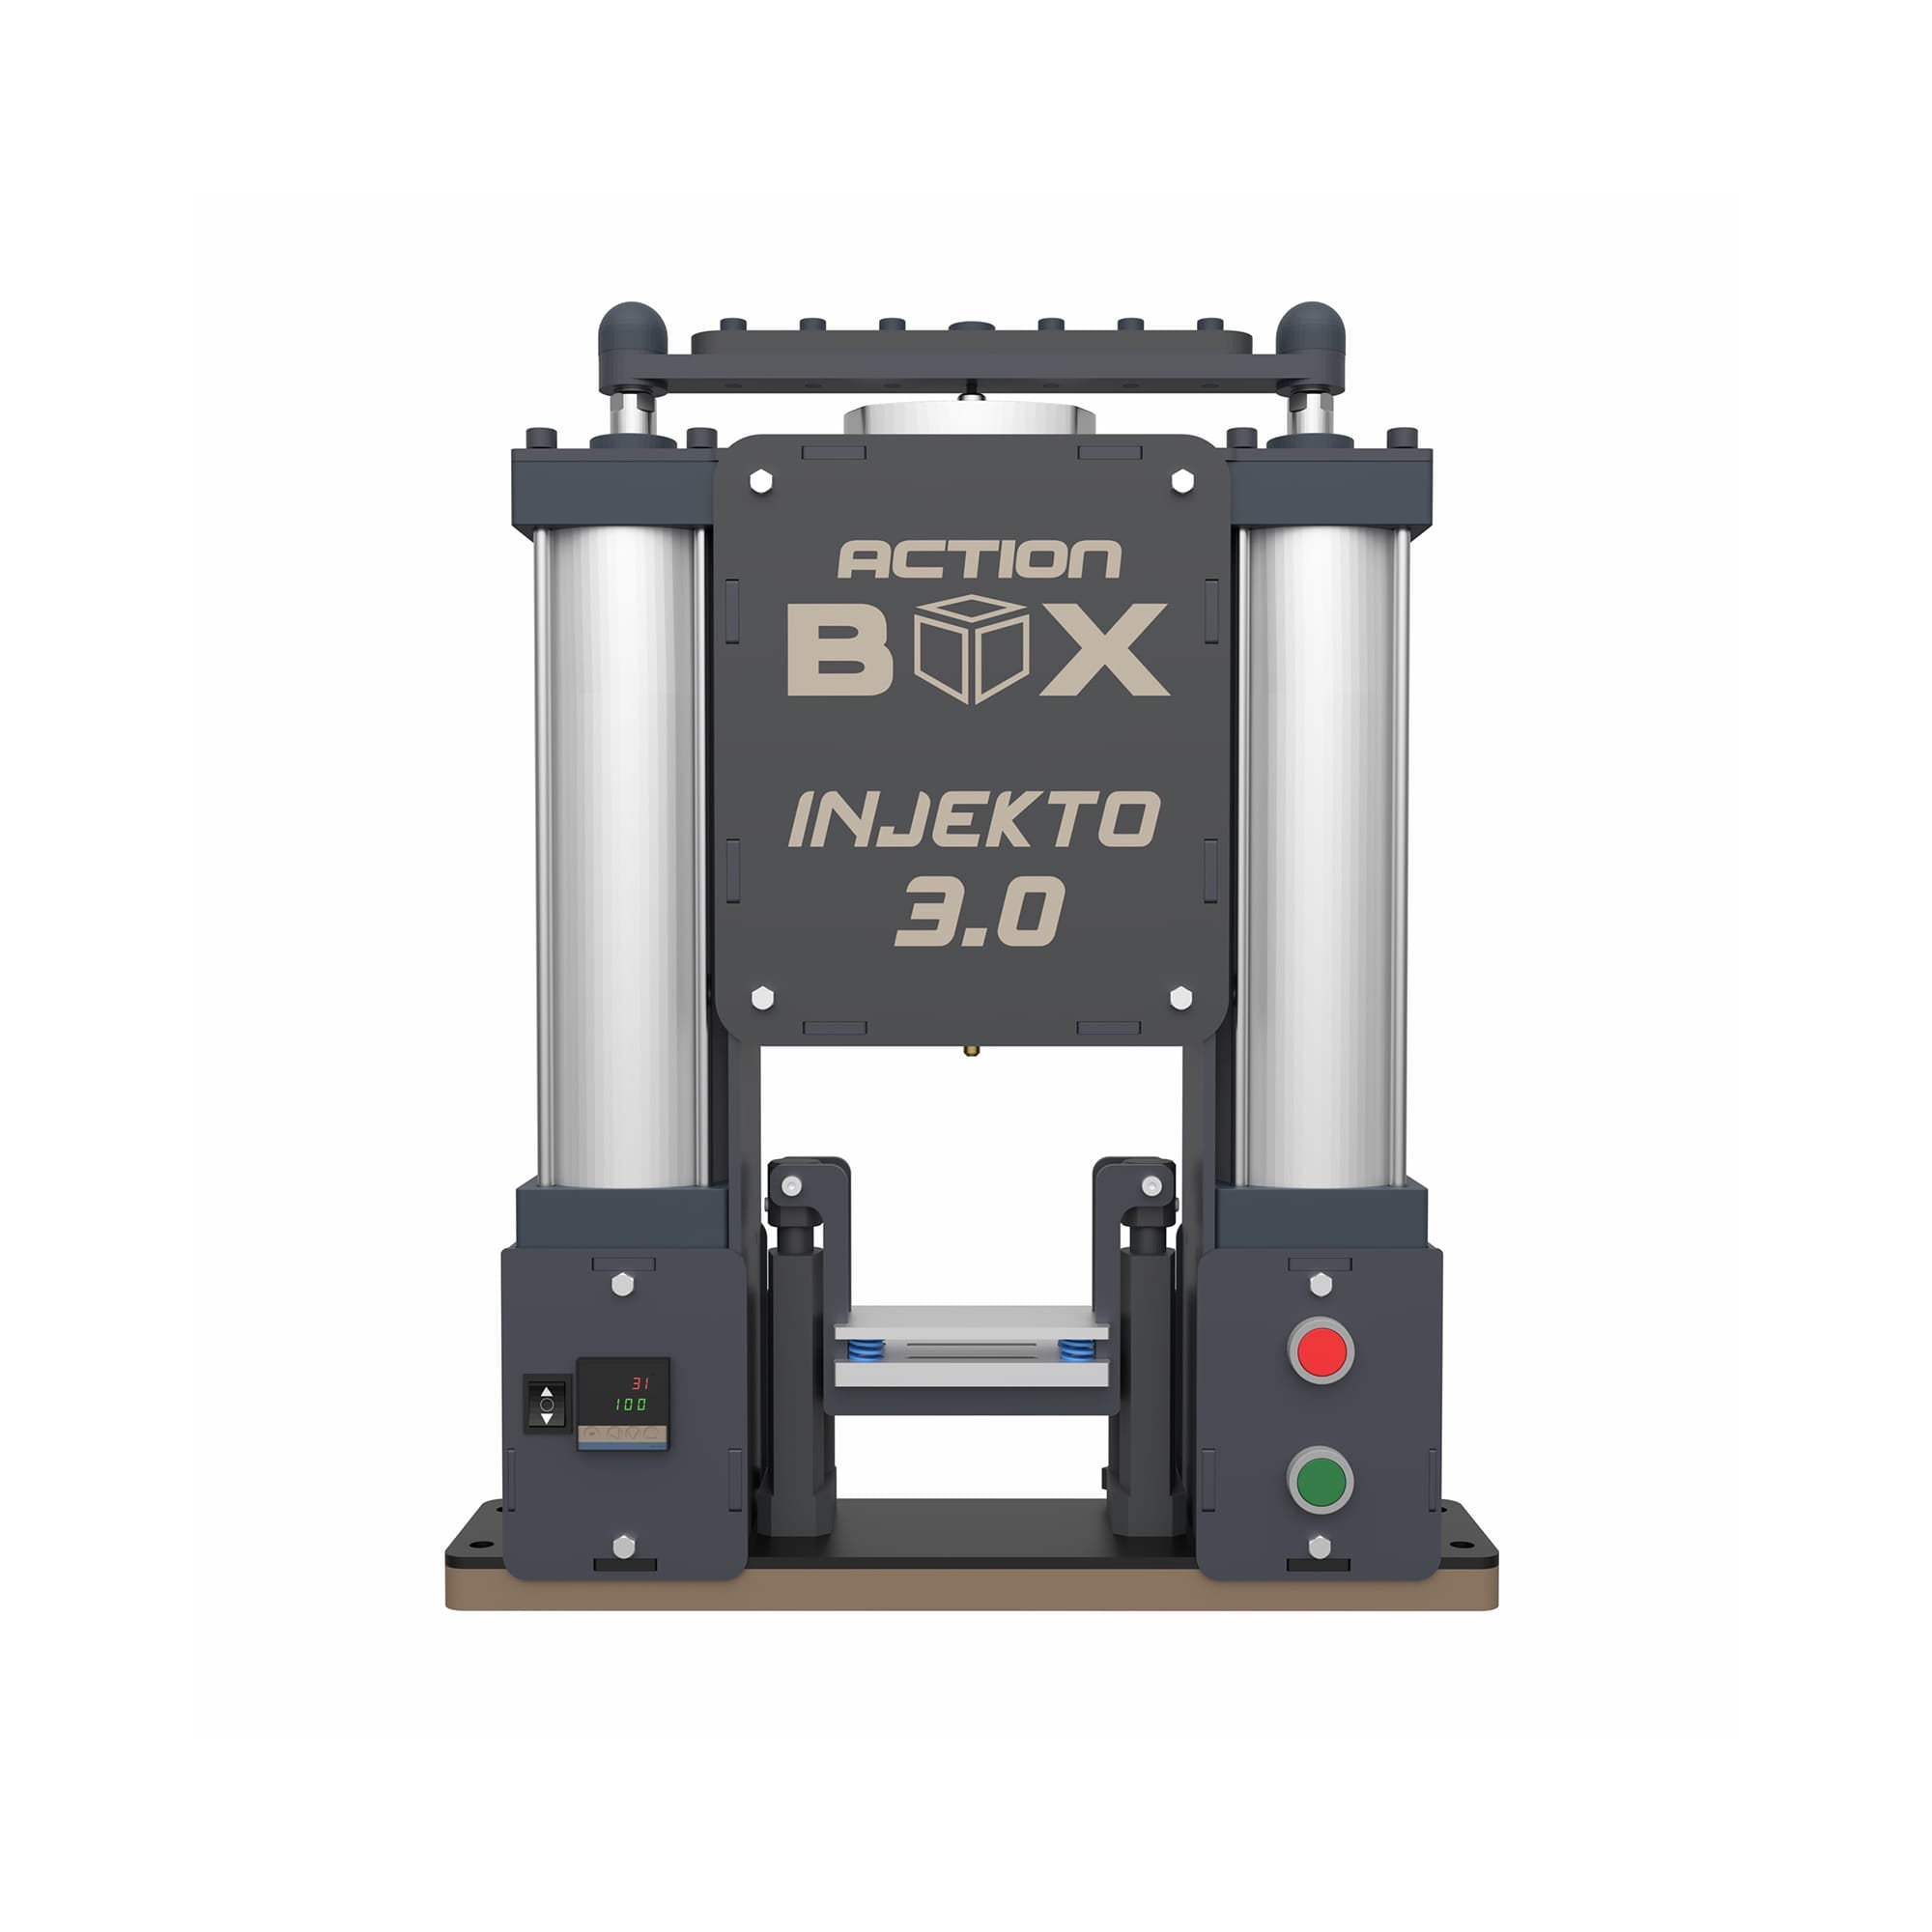
Meet INJEKTO 3: Desktop power, workshop simplicity
INJEKTO 3 by Action BOX is a bench-scale plastic injection molding machine designed for makers, small workshops, educators, and startups. It is engineered to be approachable on day one and reliable by day one hundred.
Why INJEKTO 3 stands out for small-scale production:
- Compact form factor: Fits on a workbench without a dedicated industrial bay.
- Maker-friendly workflow: Clear controls, straightforward setup, repeatable results.
- Material flexibility: Suitable for common thermoplastics used in prototyping and functional parts.
- Upgradeable ecosystem: Optional add-ons (like mold lifters and mold backers) let you tackle trickier geometries and improve consistency when you need it.
Bottom line: if you are ready to move from “prototype once” to “make 50 to 500 parts” with consistent quality, INJEKTO 3 is built for exactly that step.
When desktop injection molding beats 3D printing (and when it doesn’t)
Choose injection molding if you need:
- 20 to 500+ identical parts with crisp features and strong layer-independent strength.
- Consistent cosmetics such as texture, gloss, and branded marks.
- Lower per-part cost for runs, after your mold is set, each part is fast and inexpensive.
Choose (or keep) 3D printing for:
- One-offs or highly experimental shapes you will only make a handful of times.
- Very large parts that exceed benchtop mold volumes.
- Elastomer-like materials you already have dialed in on printers (unless you are molding TPE or TPU with an appropriate setup).
A healthy workflow often uses both. 3D print early concepts, then mold the production run. The image below shows 3D printed molds that were injected with INJEKTO 3 to create plastic parts, including a functional fidget spinner.

Your mold options: from simple to sophisticated
Prototype molds:
- 3D-printed inserts such as high-temp resins or reinforced filaments for quick validation.
- Soft metals for short runs and rapid iteration.
Production-leaning molds:
- Aluminum for repeatability, heat transfer, and durability.
- Steel where abrasion resistance or very long life is needed.
You can start with a fast prototype mold to validate the design, then upgrade to an aluminum tool once you have locked dimensions and tolerances.
[TIME SAVER] If you're looking for an easy way to make two-part molds that are compatible with our Mold Backers, use our online STL to Mold tool. It takes seconds, literally!
Add-ons when you need them (without overcomplicating your setup)
These are optional accessories that integrate seamlessly with INJEKTO 3 to expand capability.
Mold lifters (for undercuts and tricky releases)
- Lift the molds or mold backers up straight to the nozzle for a consistent and simple injection every time.
- Reduce part damage and let you keep the design features you actually want.

Mold backers (for stability and consistency)
- Provide stiff, aligned support behind your mold halves, especially on 3D printed molds.
- Help manage heat and maintain alignment under injection force, useful for repeatable cosmetics and tolerances.

Cost and time: what to expect
- Per-part time: Often a few minutes per cycle for small parts once the mold is tuned.
- Per-part cost: Drops quickly with volume because material and cycle time dominate after tooling is ready.
- Tooling time: Prototype inserts can be ready the same day. Aluminum tools take longer but pay off for repeat runs.
Common mistakes (and how to avoid them)
- Over-thick sections → sink or warping: Use ribs and fillets. Keep walls uniform.
- No draft → stuck parts: Add 1 to 2 degrees (or more for textured surfaces).
- Poor venting → burns or short shots: Vent at flow ends. Ensure gates are not choking flow.
- Ejector marks on show surfaces: Place ejectors on non-cosmetic faces or features.
- Ignoring undercuts: Plan side actions or use lifters to release without part damage.
Who gets the most value from INJEKTO 3?
- Product startups making functional, customer-ready parts in small batches.
- Makers and repair specialists who need durable replacements or custom components.
- Educators, Universities, High Schools and labs teaching real manufacturing with hands-on outcomes.
- Shops bridging from prototype to revenue with short-run production.
- Hobbyists building in their garage or home
Getting started (the easy path)
- Identify a part you already make or buy in batches.
- Design or adapt the mold with DFM basics (draft, vents, ejectors) or use our online STL to Mold tool.
- Prototype quickly, using a 3D-printed insert or soft metal to prove the design.
- Run on INJEKTO 3 to confirm strength, fit, and finish.
- Scale the mold to aluminum and add mold lifters or mold backers only if geometry or tolerances demand it.
Ready to bring production in-house? INJEKTO 3 is built to turn your bench into a miniature factory, with optional lifters and backers when you need advanced moves.
FAQs
What plastics can I use on a desktop injection molding machine?
Common thermoplastics used in prototyping and short-run parts are typically suitable. Start with materials you already know from 3D printing or fabrication and follow their drying and temperature guidance. For specific plastics compatible with INJEKTO 3, visit the product page.
How many parts can a desktop setup realistically make?
For small parts, you could make thousands over a tool’s life. This depends on material, mold material, and geometry. Prototype inserts are for learning. Aluminum tools are for longer life and repeatability.
Do I need mold lifters?
They are highly recommended for simpler operation of INJEKTO 3. Lifters make ejection reliable without compromising your design.
What do mold backers do?
For 3D printed molds specifically, they stiffen and align the mold halves, helping maintain cosmetics and tolerances during injection. This is especially useful for repeat runs and tight fits. They also ensure perfect alignment with the nozzle.
Is desktop molding better than 3D printing?
For repeat parts and short-run production, molding often wins on speed, consistency, and unit cost. For one-offs and complex shapes, printing still excels.
Share:
How To Make Metal Molds Without A CNC Mill: Use INJEKTO M and MASTE
How to Make a Two-Part Injection Mold (Step-by-Step Mold Design Guide)
1 comment
Very informative guide. Thank you very much. I have placed an order and look forward to working with INJEKTO 3.